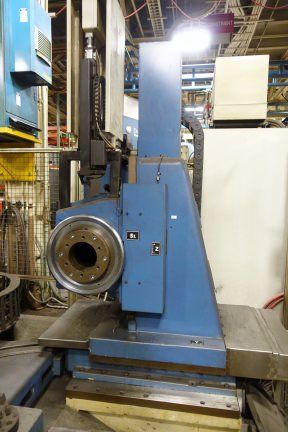
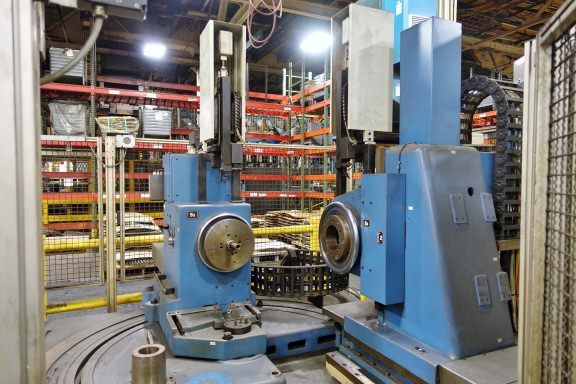
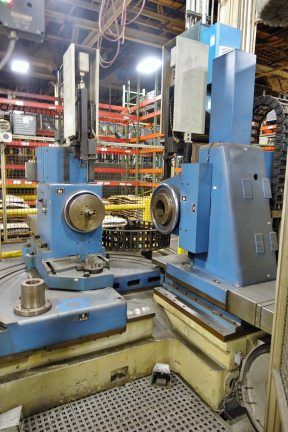
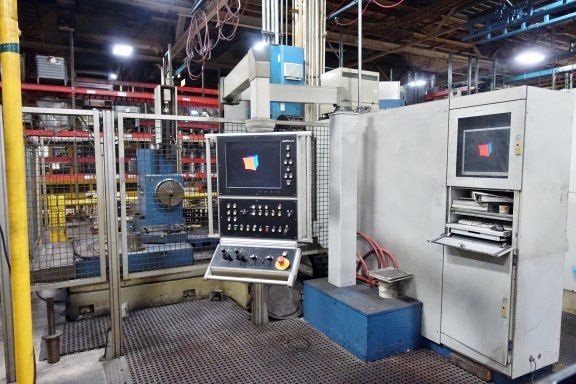
Welter UHT-800 1000 RPM
AMERICA North (USA-Canada-Mexico)
Reference #26863
WELTER Model UHT-800 CNC Universal Bevel Gear Checker
Serial No.:
Age
Model: UHT-800
SPECIFICATION:
Maximum Gear Diameter ................. 31.5"
Shaft Angle Between The 2 Spindles .... 45-180 Degrees
Distance, Pinion Face To Center ....... 8.3"-22.45"
Distance, Spindle Face To Center ...... 0-19.68"
Driving Headstock Horiz. Movement ..... 2.362" Forward
Driving Headstock Horiz. Movement ..... 7.086" Backward
Maximum Hypoid Offset ................. 4.53"
Diameter, Pinion Spindle Bore ......... 6"
Taper Of Pinion ....................... 60 Taper
Spindle Speed Pinion Headstock ........ 0-200 RPM
Spindle Speeds ........................ 1000 RPM / 500 RPM
Main Spindle Motors, S1/S6 ............ 5 HP / 6 HP
Floor Space L x W x H ................. 145" x 106" x 78.74"
Approx. Weight ........................ 24,200 Lbs.
CNC CONTROL:
Geartec CZ 4-Axis CNC Control For Pinion MD, Gear MD, Sliding Base, Pinion
Offset
BASIC SINGLE FLANK SOFTWARE:
Single Flank Inspection With FFT Analysis
Interface Software For Digital Tooth Contact Display Of Inspection Result
With A Digital Camera
FULLY AUTOMATED SINGLE FLANK OPERATION:
Auto Stock Dividing Using Non-Contact Sensing System To Detect Tooth Gap
Automatic Or Foot Actuated Clamping Of The Pinion Or Gear
Automatic Positioning To Pre-Determined Baclash
Best Backlash Positioning Based On Single Flank Running Characteristics
Automatic Programming Of Single Flank Test Cycles
Auto Movement To Pre-Determined Position For Bearing Pattern Inspection For
Digital Image Capture
Digital Image Capture With Automatic Storage Of The Image With The Single
Flank Data Inspection Report
AUTOMATED FUNCTIONS:
The Operator Brings Gear And Pinion Manually To The Machine Or Robot
Automatic Or Manual Clamping Of The Pinion And Gear
Automatic Find Correct Position Of Tooth Gap By Non-Contact Position Sensors
Inspection Of Angular Position Of Gear And Automatic Position Of Respective
Axes
Automatic Approach To Pre-Determined Backlash.
Automatic Cycle Start Of Single Flank Inspection For Respective Positions
Automatic Machine Movements To Test Pattern Position For Bearing Pattern
Inspection For Digital Imaging Capture
Digital Image Capture Of Contract Pattern & Automatic Saving Of Digital
Imate To The Test File


